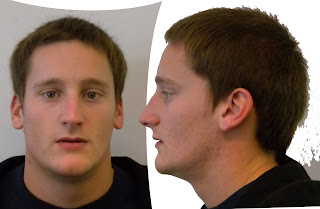
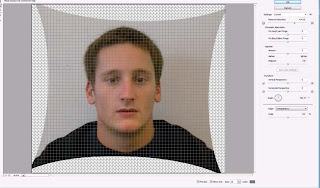
I then put the images onto the same file, but different layers. The enabled me to line up my face straight on and from the side. I did this by changing the opacity of the profile image down to about 60% and placed it upon the portrait image, a small amount of resizing and manipulation was required but, once the mouth, eye and nose were aligned i held down shift and moved the profile image back to the side. To make sure that the alignment was correct i used the guidelines that photoshop provided. I lined up my ears, eyes, nose, lips and eyebrows.
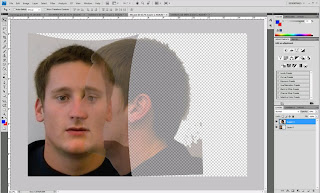
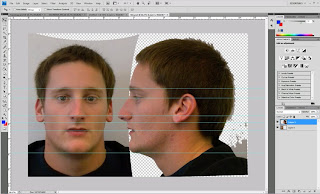
Once this was done i can start drawing on the countours of my face. I did this by selecting a blue brush with a thickness of about 3. I went over any creases, or deep facial features. This provided the main outline for my facial topology.
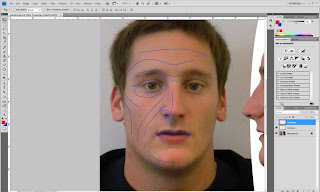
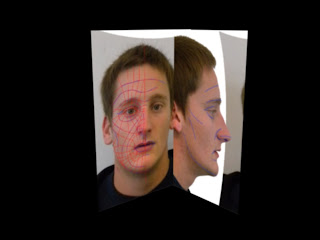
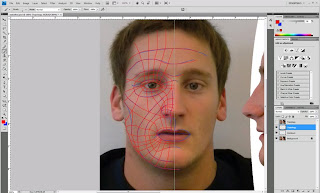
The topology was created out of a thin red brush - thickness of about 2. When doing this i had to make sure that i divided my face up into quadrants if there were any sections without 4 edges it would not work correctly. There is one vital quadrant within this topology, it is situated just below the eye socket and is a diamond. This is a directional changing quad.
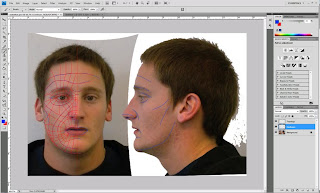
Once my entire face was split up into quadrants, i drew on the contours of the profile image. Now this was complete i put the portrait image of my face onto a plane within 3Ds Max. Lastly i put the profile image onto a plane of the same size. These will be used for reference planes when creating my 3D head model.
