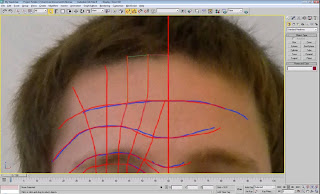
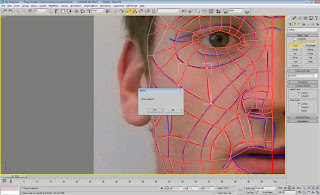
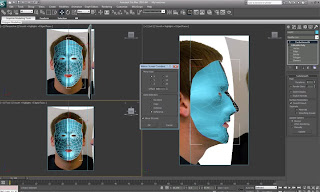
I did this over the entire face, and once this was complete I selected one of the newly formed quadrants. In order to convert a space into a editable surface I clicked on "convert to editable poly". In order to convert all the quadrants into this form, I scrolled down to the "attach" button and selected all of the lines. The obvious problem that I had at this point was that the surface was completely flat. In order to resolve this i began by selecting all of the vertices along the vertical centre line of, I then aligned them to the X axis, this made the centre line perfectly straight and would make it easier to mirror at a later stage. At this stage all the quadrants are seperate and independant sections at the moment (in other words at each corner of a quadrant there are 2 vertices). In order to join them all up together i selected all vertices and clicked on the small box next to "weld". This brought up a small dialogue box and with that i was able to select the appropriate threshold for which the vertices joined together.
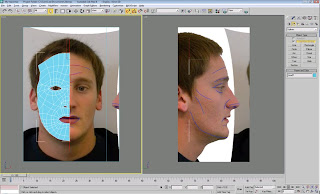
Still in the front viewport i selected all the vertices to the far right. Once these were selected I moved over to the left viewport and pulled them all out to their respected positions by lining them up to the reference plane. I then carried on doing this until i had all the vertices in the correct place other than the eye (as this was the trickiest part). As you can see in the turbo-smoothed image below the eye socket still needs a little work in order for it to be representive of my face.
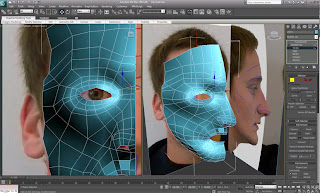
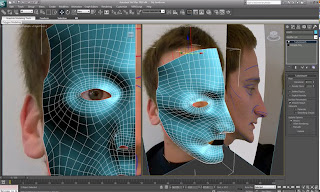
After a while of manipulating my eye and cheek bone i was able to create a model of my head that i was happy with. I realised that the cheek bone needed to cbe pulled out a little more in order to fill out the face, this also made the eye socket look flush as apposed to sticking out alien-esque.
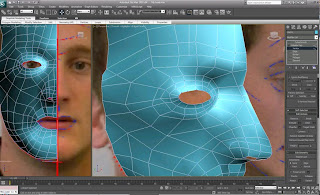
When mirroring my face i did it with the x-axix. As this is the axis that goes vertically down the face. When cloning the side of the face i did this as a reference because the clone will always do what you do on the original, but not the other way round. Once the cloned had been created i moved it slightly to the left in order for it to match up with the other side of the face.
No comments:
Post a Comment